🗓️ Phase 1: The Nursery Stage (Weeks 1 to 6)
Goal: Grow strong, pencil-thick seedlings. Maintain continuous, light moisture.
Week 1: Bed Preparation & Sowing
-
- Build raised beds (1m wide) and mix in well-rotted manure (15 kg/m²).
- Make shallow furrows 15cm apart; dust seeds with Ridomil Gold® and sow thinly.
- Cover with dry grass mulch and water heavily.
Week 2: Germination Management
-
- Scout daily for sprouts (takes 5–7 days).
- Crucial: Remove the grass mulch immediately when seedlings emerge to prevent leggy growth.
- Water gently every morning.
Week 3: Fungal Prevention
-
- Inspect for “damping-off” (seedlings rotting at the soil line).
- Apply a preventative copper-based fungicide spray to protect fragile stems.
- Weed the nursery bed gently by hand.
Week 4: Early Pest Scouting
-
- Check for tiny, translucent Thrips inside the leaf folds.
- If silvery streaks or crawling dots are seen, spray Actara® or Alonze®.
- Maintain a strict morning watering routine.
Week 5: Nutrition Boost
-
- Apply a high-nitrogen foliar feed (e.g., Easy Gro Vegetative®) to build leaf strength.
- Keep the nursery beds completely weed-free.
Week 6: Hardening Off
-
- Reduce watering frequency to once every 2–3 days. This “hardens” the seedlings for field survival.
- Prepare the main field: plow, make raised beds, and broadcast manure.
🗓️ Phase 2: Transplanting & Early Growth (Weeks 7 to 11)
Goal: Establish deep roots and spark rapid leaf formation.
Week 7: Field Transplanting
-
- Water the nursery bed well a few hours before pulling seedlings.
- Select “pencil-thick” seedlings and transplant at a 30cm x 10cm spacing.
- Fertilizer: Incorporate DAP into the planting holes (100–150 kg/acre).
Week 8: Gapping & Weed Control
-
- Walk the rows and replace any seedlings that died after transplanting (gapping).
- Keep soil consistently moist to reduce transplant shock.
Week 9: First Herbicide Application (Optional)
-
- Clean any early weed flushes. If using chemicals, apply a selective post-emergence onion herbicide like Catapult®.
- Inspect the outer leaf tips for uniform yellowing (early signs of starvation).
Week 10: First Top-Dress (Vegetative Growth)
-
- Fertilizer: Apply CAN (30 kg/ha) along the rows.
- Water immediately after applying fertilizer to incorporate nutrients into the soil.
Week 11: Main Pest & Disease Sweep
-
- Warm weather accelerates thrips. Spray Alonze® 50EC into leaf bases.
- Look for purple blotch or downy mildew; spray Milraz® or a protective fungicide if spotted.
🗓️ Phase 3: The Peak Vegetative Phase (Weeks 12 to 15)
Goal: Maximize the number of leaves. More leaves mean more bulb layers.
Week 12: Soil Aeration & Weeding
-
- Lightly hoe between the rows to destroy emerging weeds.
- Aerating the topsoil helps onion roots breathe and take up nutrients.
Week 13: Mid-Season Disease Cover
-
- Apply a preventative systemic fungicide spray.
- Ensure drip lines or irrigation channels are clear and watering uniformly.
Week 14: Final Foliage Inspection
-
- Onions should have a robust, green canopy by now.
- Check for severe thrips infestations; alternate your insecticide active ingredient to prevent pest resistance.
Week 15: Preparation for Bulbing
-
- Clear any weeds close to the onion necks.
- Watch for the base of the plant beginning to swell.
🗓️ Phase 4: The Bulbing Phase (Weeks 16 to 20)
Goal: Direct all plant energy underground to swell the onion bulb.
Week 16: Final Top-Dress (Bulb Sizing)
-
- Fertilizer: Apply NPK 17:17:17 to deliver Potassium.
- Critical Warning: Stop all pure Nitrogen (CAN/Urea) applications now. Excess nitrogen creates rot-prone “thick necks.”
Week 17: Water Management
-
- Maintain highly consistent moisture. Alternating between bone-dry and drowning soil causes bulbs to split or double.
Week 18: Thrips Defense
-
- Thrips hiding in the bulb necks can stunt bulb expansion. Apply a final targeted insecticide sweep.
Week 19: Bulb Inspection
-
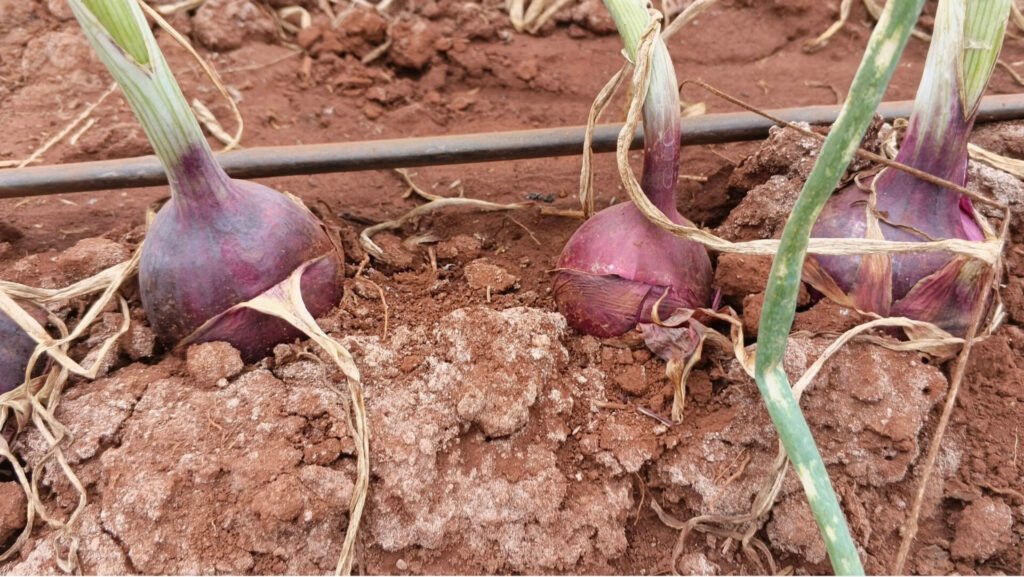
- Check bulb skin development. The Red Creole onions should begin showing a distinct purplish-red color.
Week 20: Tapering Irrigation
-
- Begin lightly scaling back water amounts as bulbs reach full target market size.
🗓️ Phase 5: Maturation & Harvesting (Weeks 21 to 22+)
Goal: Dry, cure, and protect the crop for maximum shelf life and top market prices.
Week 21: The Neck Break
-
- Look for the leaves naturally collapsing and bending over at the soil line.
- The Trigger: Once 50% of the crop tops have fallen over, stop all irrigation completely.
Week 22+: Harvesting & Curing
-
- Carefully pull the onions out of the ground on a dry, sunny day.
- Windrowing: Lay the harvested onions in rows so that the green leaves of one row shade the exposed bulbs of the next row to prevent sunscald.
- Allow to cure in the field for 3–5 days until the outer skins turn papery and dry before storage or transport.
Need an expert field evaluation?
Contact the Savannah Farms Agronomy Team to schedule a direct farm visit during your Week 6 field preparation or Week 16 bulbing stages!
Contact the Savannah Farms Agronomy Team to schedule a direct farm visit during your Week 6 field preparation or Week 16 bulbing stages!