Use this quality control checklist during the harvesting, curing, and sorting phases to ensure your onions meet premium market standards and fetch the highest prices.
📅 Phase 1: Pre-Harvest Readiness (Field Inspection)
Run through these checks 1 to 2 weeks before pulling onions out of the ground:
- The 50% Neck-Break Test: At least 50% to 70% of the onion tops have naturally collapsed and bent over at the base.
- Irrigation Cutoff: Water has been turned off completely for at least 7 to 10 days prior to harvest. Soil must be bone-dry.
- Weather Check: The local 5-day weather forecast shows clear, sunny skies with zero rain predicted for field curing.
🚜 Phase 2: Pulling & Field Curing
Ensure proper handling during the physical harvest to prevent bruising and sunscald:
- Manual Extraction: Onions are gently pulled by hand or loosened with a fork. Avoid hitting bulbs with hoes or jembes.
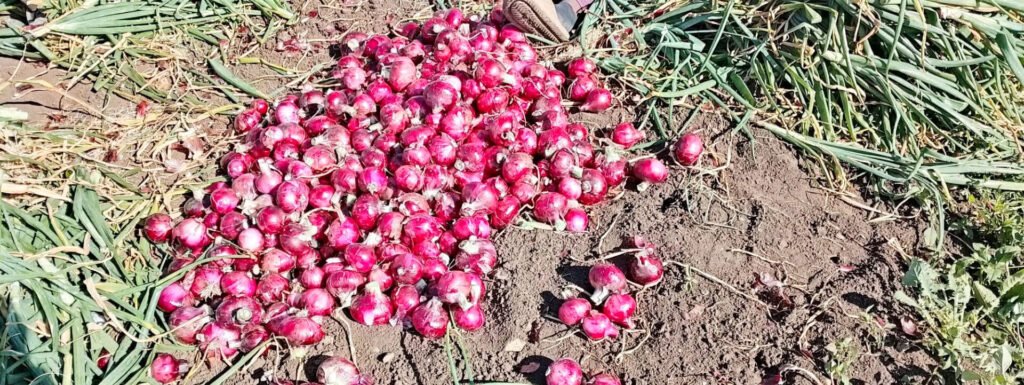
- Windrowing Protection: Harvested bulbs are laid out in rows where the green foliage of one onion row covers and shades the bulbs of the next row.
- Sunscald Prevention: No onion bulbs are left directly exposed to the bare, scorching midday sun (prevents the inner flesh from “cooking” and rotting).
- Curing Duration: Onions have sat in the field for 3 to 5 days until the roots feel like brittle wire and the necks are completely dry and pinched shut.
✂️ Phase 3: Trimming & Topping
Follow these steps once curing is complete to prepare the onions for bagging:
- Neck Trim Spacing: Green tops are cut leaving a clean 2.5 cm to 5 cm (1–2 inches) neck attached to the bulb. Do not cut too close to the bulb, or fungi will enter.
- Root Trim: Roots are trimmed short (around 1 cm) without cutting into the basal plate of the onion bulb.
- Tool Cleanliness: Trimming shears and knives are disinfected regularly to prevent transferring pathogens between bulbs.
⚖️ Phase 4: Market Sorting & Grading
Sort your harvest into distinct categories to maximize your profit margins:
- Skin Quality Check: Premium onions possess a minimum of 2 to 3 intact, tight, papery, deep purplish-red outer skins.
- Firmness Test: Bulbs are solid and firm when lightly squeezed. Toss out soft, spongy bulbs.
- Reject Log (Defects): Remove and discard or immediately use onions showing:
- Thick Necks: Necks that stayed thick and open (they will rot quickly).
- Doubles/Splits: Bulbs that split into two separate halves.
- Mechanical Damage: Cuts or deep bruises from harvesting tools.
- Mould/Rot: Any black, grey, or white powdery fungal growth on the skin or base.
- Size Grading: Group onions into standard market sizes:
- Large/Premium: 60 mm+ diameter (highest market value).
- Medium: 40 mm to 60 mm diameter (standard market demand).
- Small/Pickler: Below 40 mm diameter.
📦 Phase 5: Bagging & Storage
Final checks before transportation or moving into the storage shed:
- Breathable Packaging: Onions are packed strictly in open-mesh net bags (Netalon bags) to allow air circulation. Never use solid plastic or polythene sacks.
- Storage Environment: The holding shed is well-ventilated, cool, dark, and elevated off the ground on wooden pallets to prevent dampness.
Savannah Farms Profit Tip: Sorting and grading your onions can increase your total earnings by up to 30%. High-quality, well-cured premium grades can be stored for up to 6 months while you wait for market prices to peak!